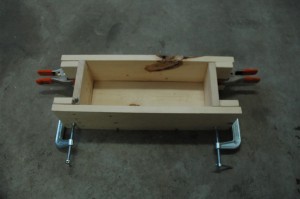
 Making your own handmade soap is a great example of chemistry in practical use. You are mixing fats with a solution of lye to convert the fat to soap. Pretty easy isn’t it? I think that once you get over the fear of soap being chemistry, the entire process is a wonderful creative outlet.
One of the things that first time soap makers stress way too much about is what they should pour their soap into while it hardens. Here is the secret. It doesn’t matter. When I was first learning to make soap with my wife, we poured the soap into a 8.5 x 11 inch cardboard box lined with a plastic trash bag. We would pour the soap to a depth of about 2.5 inches. Once the soap setup, we would then cut the slab into individual bars. A soap mold can be as simple as a cardboard box. A soap mold should help you make the bar size you want. Until you know how big your bar is, you won’t know how big your mold should be.
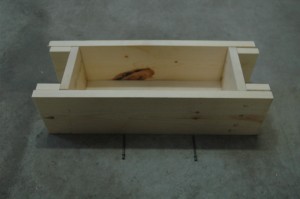
I want to show how you can make a simple wood soap mold with minimal amounts of fancy wood working tools or techniques. The tools you will need are:
- Tape measure
- Pencil
- Saw
- Drill
- Screw driver
The materials you will need are:
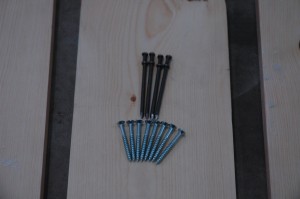
- Counter sink wood screws
- Wood (I found some 1×6 pieces in some pallet scraps)
- Wood dowels, steel pin or large nails
- Wood glue or white glue
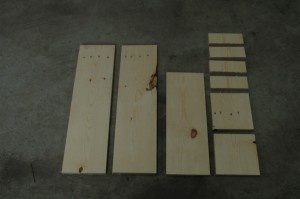
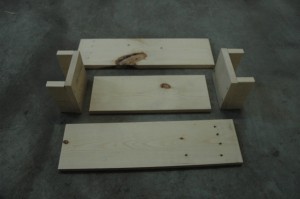
The mold that I am showing is sized the way it is because of the size of the materials that I found. There is no other rhyme or reason to it other than that. My mold has 2 long sides, 2 short sides, 1 bottom, and 4 wings. The cut list is:
- 2 – long sides (20″ x 5.5″)
- 2 – short sides (5.5″ x 5.5″)
- 1 – bottom (14.25″ x 5.5″)
- 4 – wings (2″ x 5.5″)
Since I found the wood and already had the clamps in my shop, the only thing that I bought for this mold were the wood screws. Not too bad for a dollar and a little time in the garage.
